Well my darling Emma decided that she wanted a Hello Kitty party for her 4th birthday. To be honest, I don't really understand why Hello Kitty is so popular except for the fact that it has been merchandised to death and so little girls just see it on EVERYTHING and thusly, gravitate toward the graphic. H.K. is kinda cute I guess, and fairly easy to replicate which is why I agreed to make the decorations for this fabulous Hello Kitty 4th birthday party.
But really.... H.K. doesn't DO anything. She doesn't have a show, or a series of books. Well, there are books but it seems they just slap her onto various books for the same merchandizing purposes rather than because she is the beloved heroine or protagonist of well written children's prose. But I digress.
DECORATIONS
I decided we needed to have a Hello Kitty sweet shoppe, inspired by all these Pinterest posts of amazing dessert tables. My husband Macgyvered the sweet shoppe awning out of some foam-core bristol board from Dollarama. I painstakingly hot glued the ribbon on (incorrectly several times) for the pin-striping.
I also handmade the banners using graphics I found in the internet which I printed on cardstock and then cut out by hand, and some scrapbook paper. ( Okay, so it's not rocket science but feel free to admire my crafting prowess and fill my blog with comments of praise and adulation. J.K.)

Okay, so I won't be winning any photography awards here. The lighting was bad, and I was rushing because by the time I got everything set up, the birthday party guests were almost due to arrive. There was no time to fiddle with our camera. I've since learned how to take better photos in low lighting thankfully!
These will have to suffice for now.
A few small touches to bring the colour scheme together included helium balloons and the tissue poms I love some much (and one might even go so far as to says I'm OBSESSED with) and make for every party that I can! Lol. But they're just so FUN and purrrrty.

I made some hanging decos for the front entrance using a scrapbook circle punch and different colours of pink carstock. It made the front entrance fun and whimsical. Well actually, I recycled them from my cousin's baby shower, but they worked well here too.


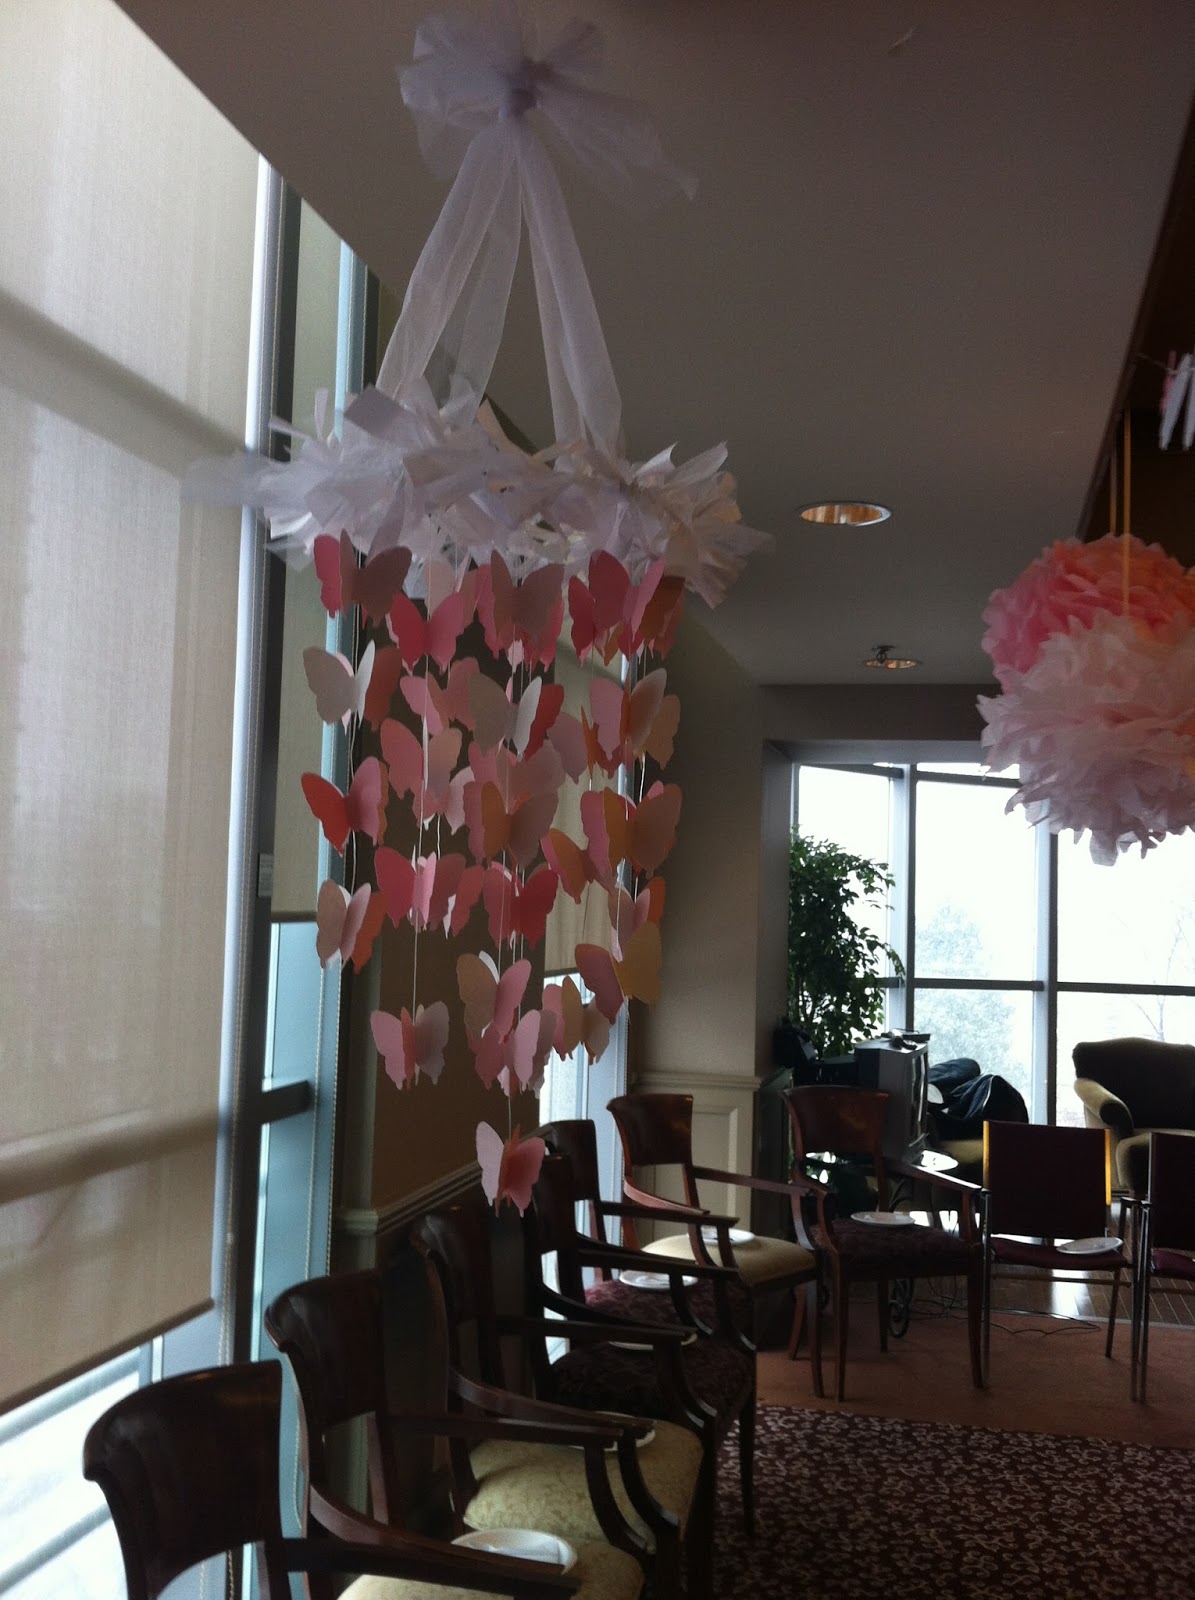
I also made a butterfly mobile which hung over the table where the kids had lunch, played games and devoured their cupcakes like sugar depraved monsters. This too was a repeat from my cousin's baby shower. It was just too pretty to throw out. Also, it took a really long time to put together. :) Hey, at least the paper princessa's environmentally friendly too.
In the basement, we put up a Hello Kitty castle which my husband made out of cardboard a few years before for Emma's princess party. Umm, and yes if you're noticing a trend my husband is a genius with making three dimensional objects out of cardboard. It's just one of the many reasons I love him.
To make it even more special I taped pink and white balloons to the ceiling above the castle.
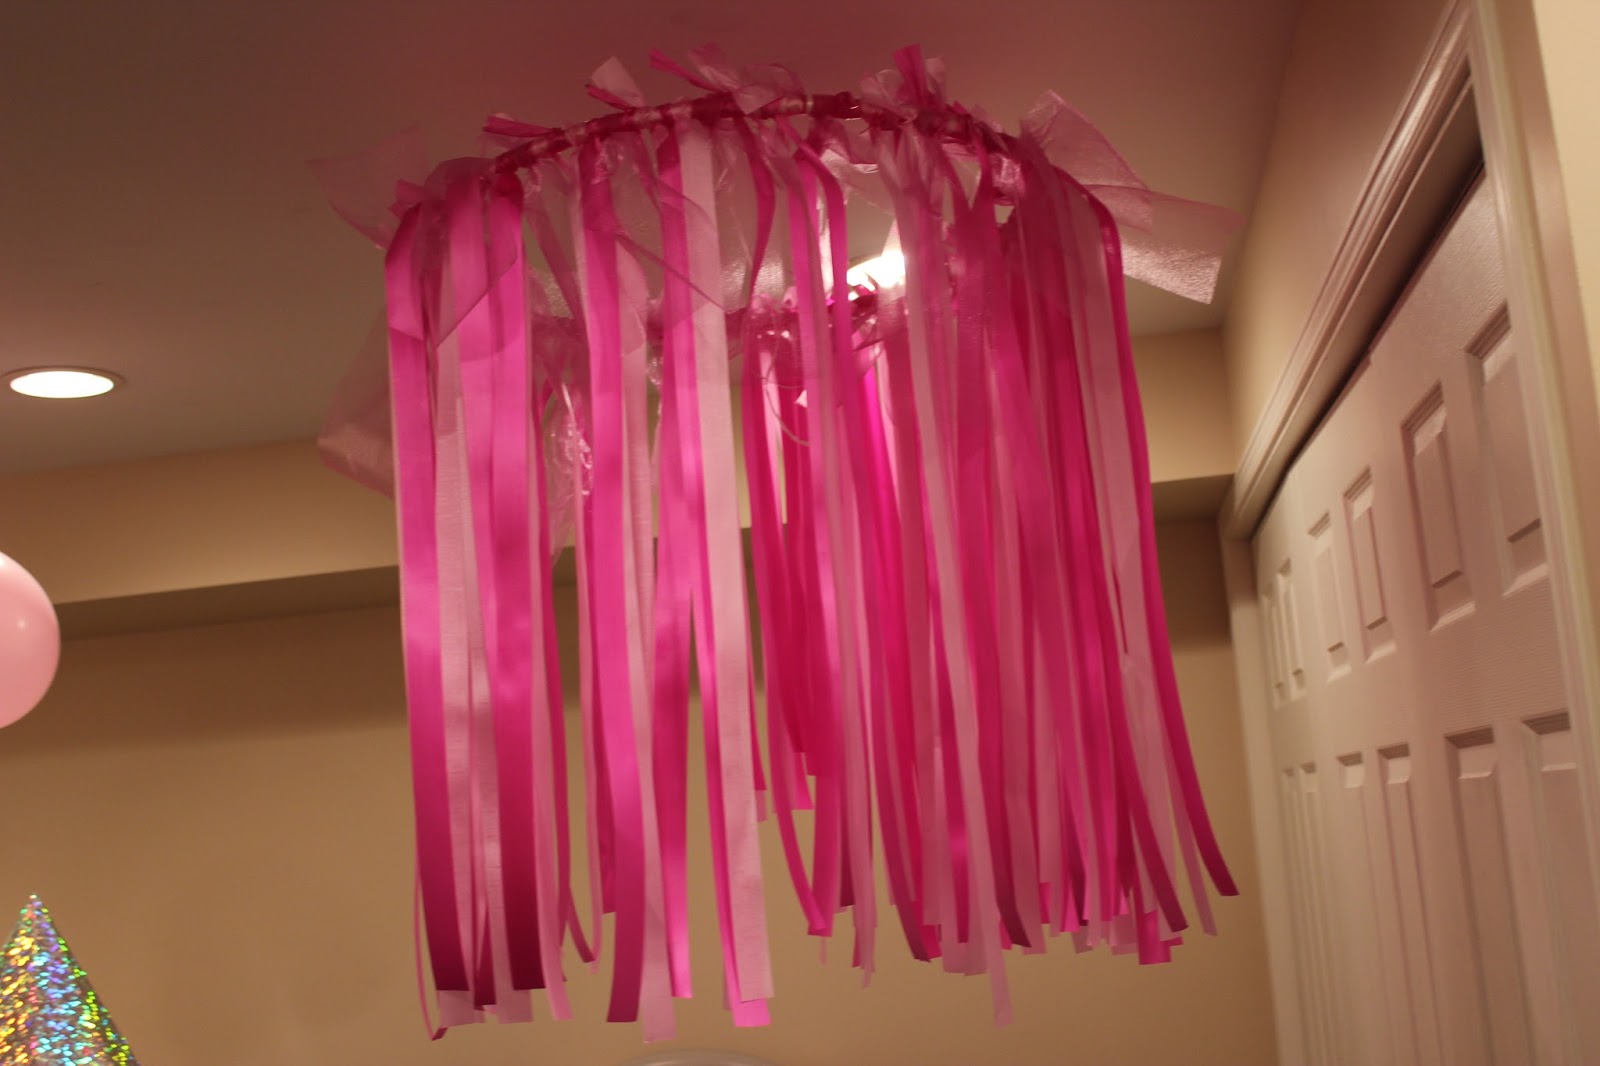
This is a hanging decoration that I made from a hula-hoop and pink ribbon that hung in front of the H.K castle.

FOOD
I decided that the kids would be able to use tokens they earned during games to buy items from our Hello Kitty Sweet shoppe. So I made marshmallow "ice cream" cones, chocolate covered pretzels, chocolate covered marshmallows on sticks....


.... and rainbow hello kitty cupcakes!! The inside of the cupcakes were all different colours. I was a bit nervous they wouldn't turn out, and I over-filled the first batch in my zeal to get all the colours represented, but in the end they turned out great! I was so pleased with them. They were so FUN!

I placed them in clear plastic cups with favour bags over top, so they would be easy to for the kids to put in their take home sweet shoppe bags.
Also, in our sweet shoppe were coloured covered marshmallows adorned with sprinkles and skor bits, chocolate covered oreos on sticks, rainbow twizzlers, and sweet and salty popcorn. I know, I know, it was a bit over the top, but I wanted them to have a variety of things they could choose from and take home to share with their families!
I didn't just serve them sweets of course. In fact, the sweet shoppe items were mostly to take home. We also had pita pizzas, fruit and veggies for lunch. :) I'm not completely crazy and I didn't want all the moms to come after me post-partyso I wasn't just going to let them gorge on sugar!
LOOTBAGS
I picked up a few inexpensive items for the lootbags from the dollar store, Walmart & Party City. A paint/colouring book, hello kitty pencils, party blow outs, mini-view finder cameras. Some items were bulk packaged together (like the pencils, buttons and blowouts ) which made it cost effective. I just split up the packs, other items like the camera had to be purchased individually but were not expensive (I think in the area of 15 cents a piece) . I had to make sure I stayed on a tight budget (as always) which meant that I had to be careful because there is SOOO much Hello Kitty merchandise out there, it's easy to go crazy, but I didn't want to spend a fortune. I started planing this party well in advance, (party date was in March but I started thinking about it in December) and so I was able to score the Hello Kitty bubble bath on clearance at Walmart after Christmas for more than half off (like 25 cents each) and the lollipops on sale after Valentine's day. I love a good deal, and these helped me put some fun additions into the lootbags without blowing the budget! Score!!


I placed all the items in clear treat bags and then made the tops out of card stock, scrapbook punches and some Hello Kitty graphics from the internet. I then just folded the card stock and stapled onto the top of the lootbags.
GAMES
We played a memory game with cups, pin the bow on Hello Kitty, put Hello kitty temporary tattoos on and played in the castle after lunch.
And finally the invitations that I hand made.